When you first go to https://www.createspace.com to start the book creation process, one of the first things you need to make a decision on is the size of your book. Well, that and whether or not you to use an ISBN or an ASIN number. You can check my previous blog for that whole option here: http://www.thecheekyfellow.com/home-blog/what-are-asin-and-isbn-numbers-and-why-do-i-need-them The short of it is to just go with the free ASIN and save yourself the cost, but back to our “print ready” cover. Even if you want to only have an eBook at https://kdp.amazon.com, Amazon requires that you first create a print book and format it properly. Only then does Amazon allow you to convert that printed book into an eBook, so no matter what you are forced to build two separate templates; one template for your physical book and one for your eBook. Also, each different size book requires you to reformat your text to fit the new template you choose to additionally use. This includes restructuring the cover for your book. The one good thing is that the cover template for the physical book and the eBook can be used without changes, but that total text restructuring between the two types of books is time consuming. One additional side note: when you go with an audio version of your book you’ll need to reform the cover for your book to fit the audio book’s unique requirements, which are very different than either the physical or eBook formats.
Another annoying point I ran into with the release of Flight and something that I couldn’t find any information about at the time was that the smallest book you can go with on Amazon is the 5.06 X 7.81 template, which is as close as you can get to a normal sized mass market paperback that we all are familiar with when self-publishing through Amazon. It’s confusing when you get to the template choice for your book and nothing fits what you’re expecting as you measure one of your paperbacks at home and compare it to the selection that Amazon gives you for templates to choose from, so hopefully this part of the blog helps you at this point especially. After much research I discovered that Amazon doesn’t allow you to self-publish a normal sized mass market paperback book. One additional FYI on this point, the 5.06 X 7.81 template is slightly larger than a normal sized paperback book.
A slight rant: I guess Amazon wanted their paperback to stick out slightly on any bookshelf. While a part of me found this to be annoying, I will say that at least I found the quality of the physical books from Amazon to be exceptionally good. Something that makes you proud to hand out/sell when friends and colleagues question if you’re a “real writer” or do you actually have a “physical book” of your work. For some reason, if you only had an eBook published people think that’s quaint, but if you actually have a printed book in the hand, you’re taken more seriously as a writer. It doesn’t make any sense. Most of your sales will be eBooks and not physical books, but that doesn’t matter, people will still judge you on having a “physical book” of your work.
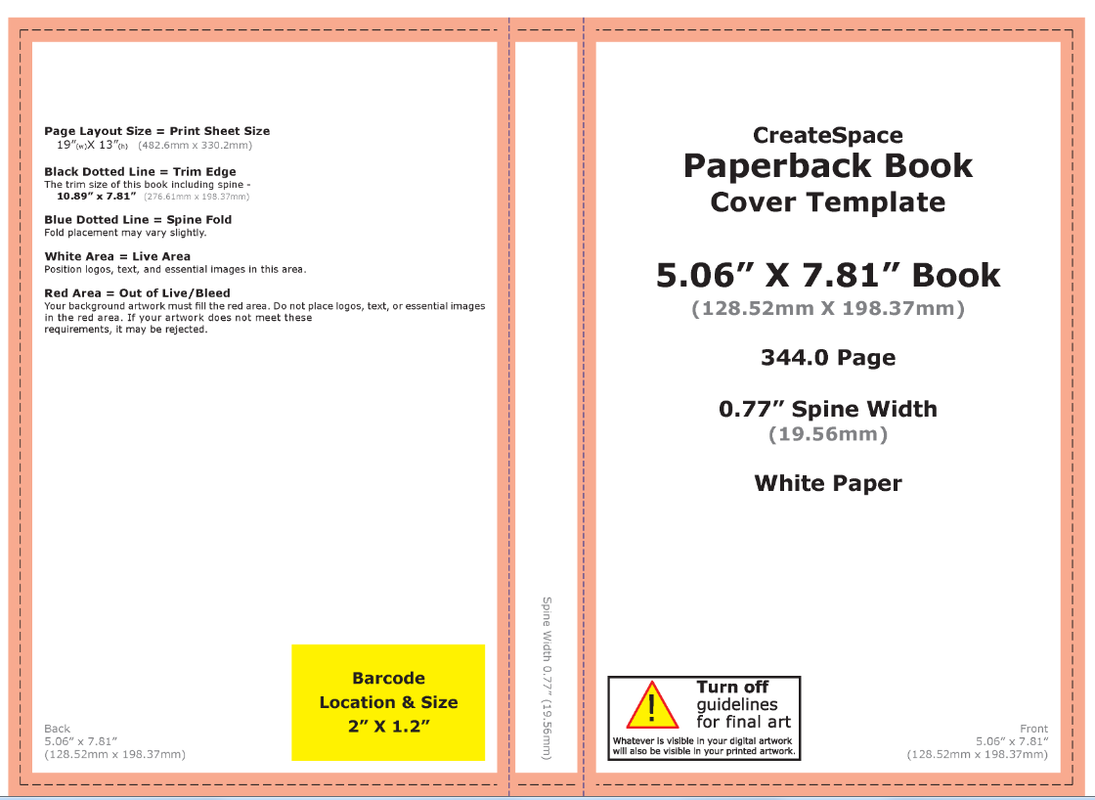
Carrying on with the publishing process, once you download the template you’ll have one for the cover and one for the text. The cover template looks like this:
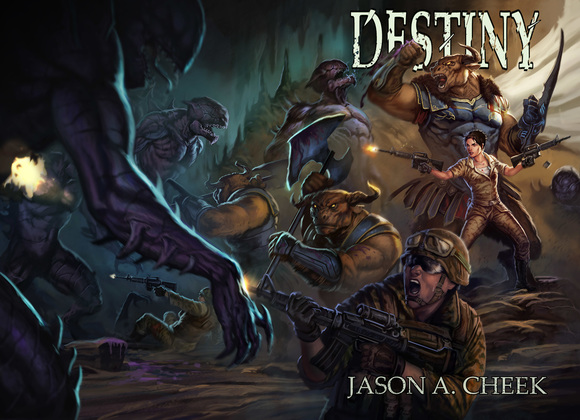
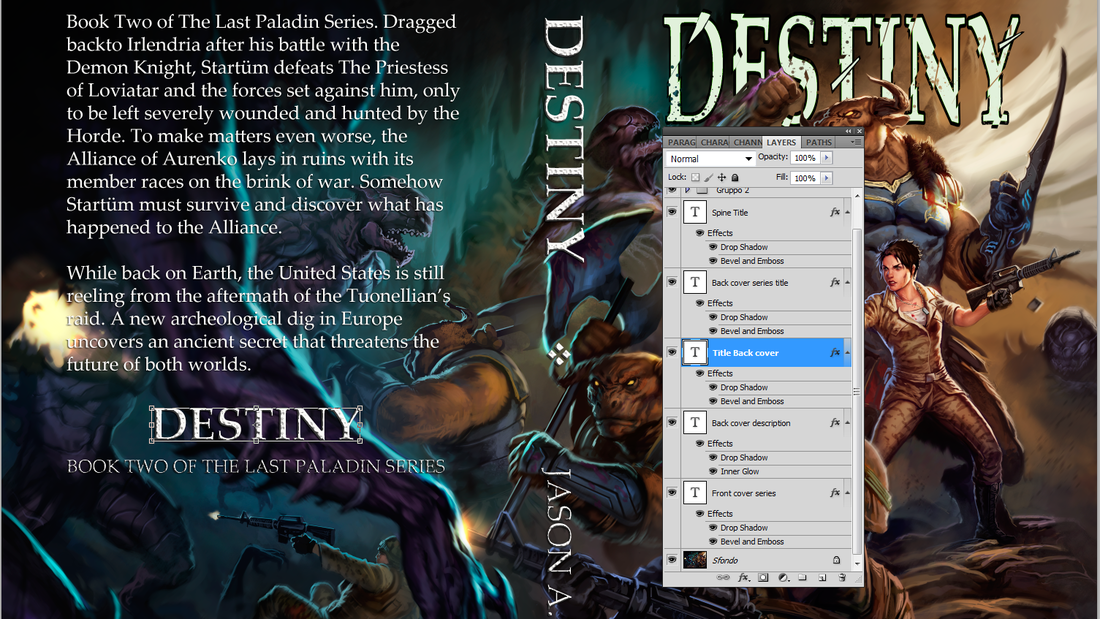
Once you have the image looking the way you want it, the next step is to save your work with your multiple layers. You’ll need this for getting the next step correct. At this point in time I make a separate image and flatten the layers into one image. I copy this and then open the template for the cover I downloaded from Amazon inside Illustrator. Just a warning, the template will not automatically open in Illustrator.
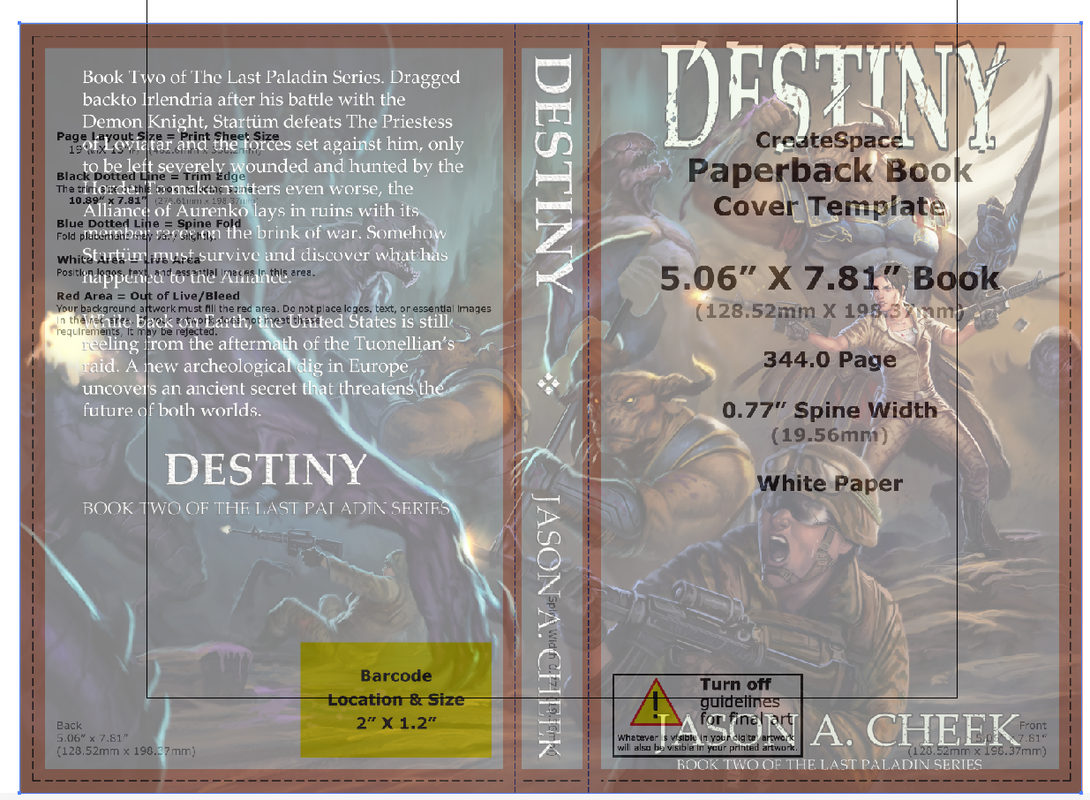
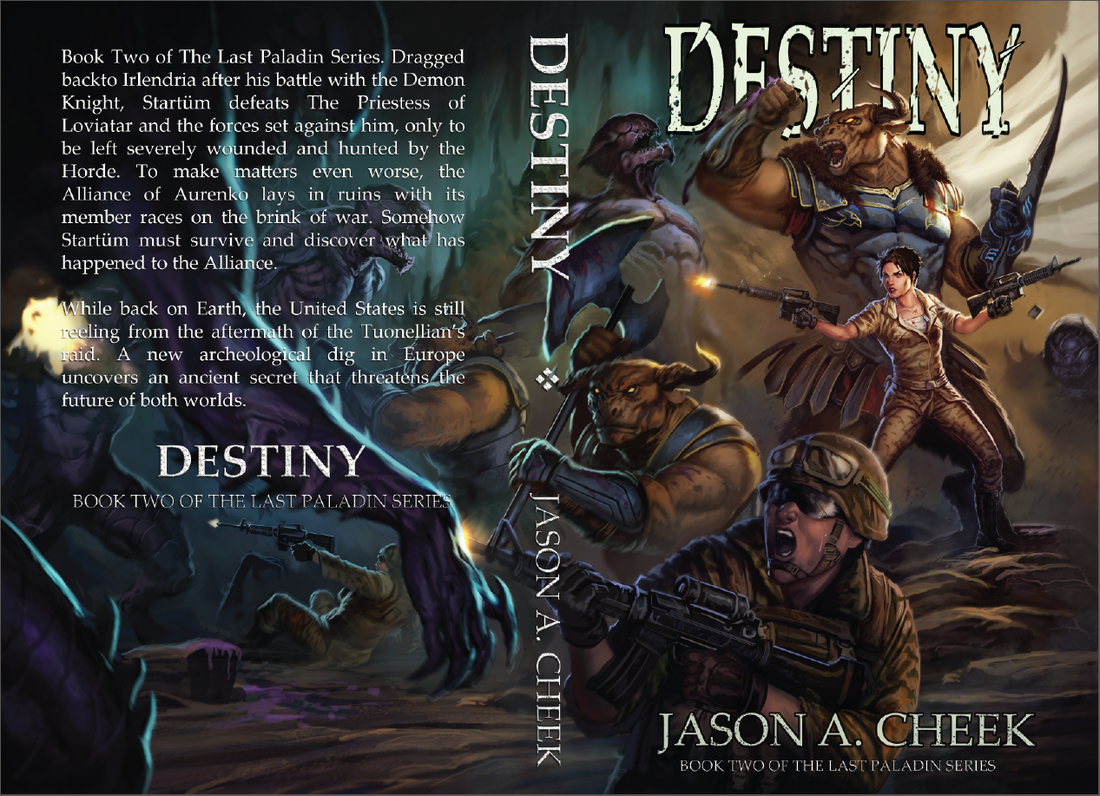
Now paste the image from your graphic program, Photoshop for me, into the template you have open in Illustrator. The image will be huge and cover the template. You’ll want to move the image’s opaque transparency settings down to something like 50% and resize the edges of the image until it is completely covering the outside edge of the template. The semi-finished product will look something like the graphic below, but once you have it in place you will want to set your image’s transparency settings back to 100%.
I hope this post helps those of you who are working hard to get that first book published. For me this post will work as an excellent procedure to have for future publishing, since by the time I’m pushing out book three I will have forgotten this process again. For now, I’m wishing everyone a great weekend and signing off.
 RSS Feed